In this article, we will integrate the Botman chatbot with Laravel 9. Botman is a package for composers. It will automatically provide the chat interface and its internal functionality once installed.
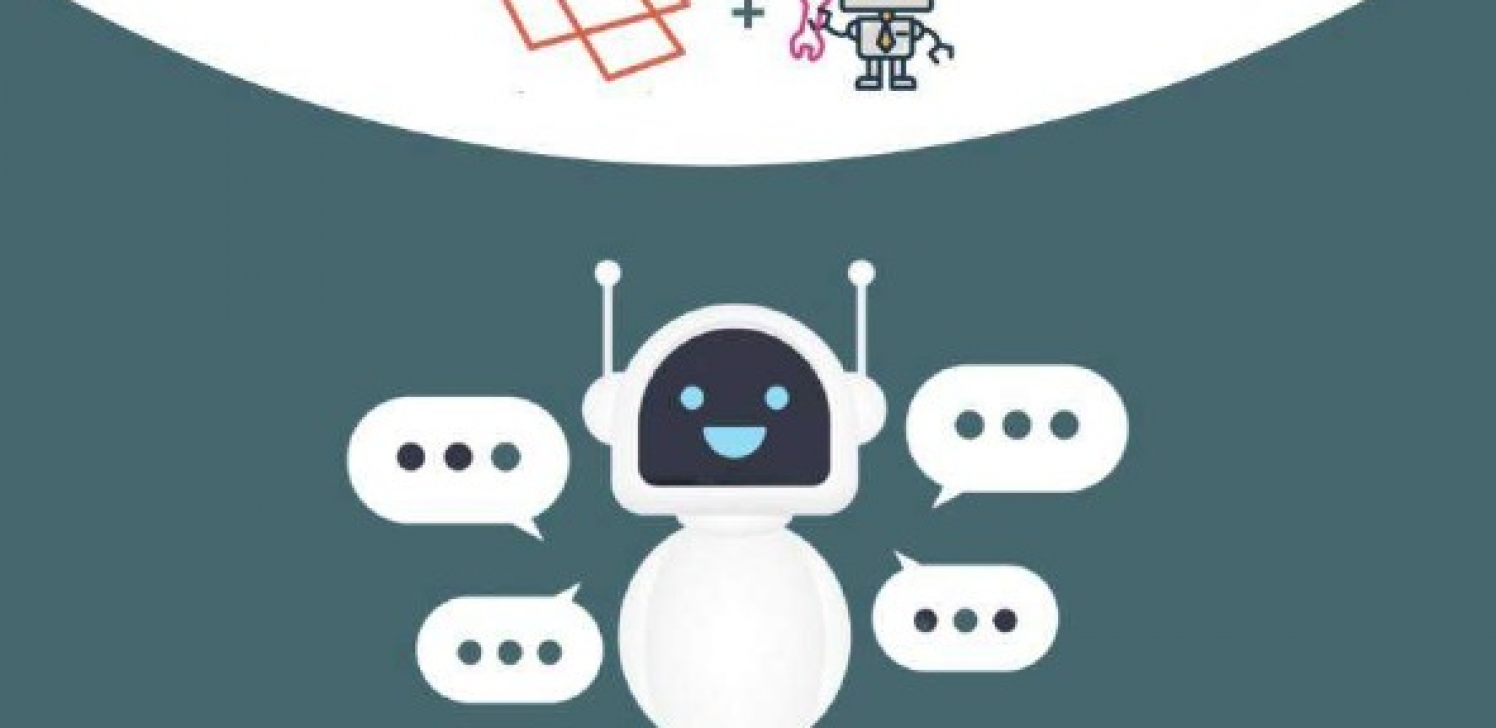
What is a chatbot?
A bot is a software program that will perform automated tasks. In other words, a bot is a computer program designed to communicate with users. The most natural definition of a chatbot is – a developed program that can have a discussion/conversation with a human. For example, any user could ask the bot an inquiry or a statement, and the bot will respond or perform an activity as appropriate.
Table of Contents
1. Laravel Installation
2. Install Botman And Botman Driver
3. Create a Configuration File
4. Create a Controller
5. Create Route
6. Create Blade File
Laravel Installation
Make sure you have Composer installed on your computer, and if not, install it from https://getcomposer.org/download/ because we will create a Laravel project using Composer.
composer create-project laravel/laravel example-app
Start Laravel Development Server with this command:
php artisan serve
You can open the website with this URL http://127.0.0.1:8000 , open the project in a terminal, and run this command:
composer require botman/botman
After installing this package, run this command to install the Botman driver:
composer require botman/driver-web
Create Configuration File (Optional)
These actions are not required. But here are the driver and cache configuration files.
Let’s make a botman folder in the /config directory.
In the /config/botman directory, create two files:
• config.php
• web.php
Open file /config/botman/config.php and write this code:
 <?php
  return [
    'conversation_cache_time' => 40,
    'user_cache_time' => 30,
  ];
Open file /config/botman/web.php and write this code։
 <?php

 return [
   'matchingData' => [
            'driver' => 'web',
       ],
 ];
Create Controller
Open the project in a terminal and run this artisan command to generate a controller class:
php artisan make:controller BotManController
After that, the BotManController.php file was created in the /app/Http/Controllers folder, open this BotManController.php file and write this code:
 <?php

 namespace App\Http\Controllers;

 use BotMan\BotMan\BotMan;
 use Illuminate\Http\Request;
 use BotMan\BotMan\Messages\Incoming\Answer;

 class BotManController extends Controller
 {
     /**
      * Place your BotMan logic here.
      */
     public function handle()
     {
         $botman = app('botman');

         $botman->hears('{message}', function ($botman, $message) {

             if ($message == 'hi') {
                 $this->askName($botman);
             } else {
                 $botman->reply("write 'hi' for testing...");
             }

         });

         $botman->listen();
     }

     /**
      * Place your BotMan logic here.
      */
     public function askName($botman)
     {
  $botman->ask('Hello! What is your Name?', function (Answer $answer) {
             $name = $answer->getText();
             $this->say('Nice to meet you ' . $name);
 });
     }
 }
Add Route
Open file routes/web.php and write this code:
use App\Http\Controllers\BotManController;

// ......

Route::match(['get', 'post'], '/botman', [BotManController::class, 'handle']);
Create Blade File
Any view file from your application can be opened and used. In this case, I run the default view file welcome.blade.php. open file resources/views/welcome.blade.php and write this code:
<!doctype html>
<html>
<head>
    <meta charset="utf-8">
     <meta name="viewport" c initial-scale=1">
    <title>Botman Chatbot in Laravel - Real Programmer</title>
    <link href="https://fonts.googleapis.com/css?family=Nunito:200,600" rel="stylesheet">
</head>
<body>
</body>

<link rel="stylesheet" type="text/css" href="https://cdn.jsdelivr.net/npm/botman-web-widget@0/build/assets/css/chat.min.css">
<script>
    var botmanWidget = {
        aboutText: 'Write Something',
        introMessage: "✋ Hi! I am a real programmer created by Davit Grigoryan"
    };
</script>

<script src='https://cdn.jsdelivr.net/npm/botman-web-widget@0/build/js/widget.js'></script>

</html>
Application Testing
So now we can test our chatbot since we have compiled the "php artisan serve" command, and all we have to do is visit http://127.0.0.1:8000/ and see what we have done․
This is all the code. For more information, you can check out my codes in my GitHub repository.